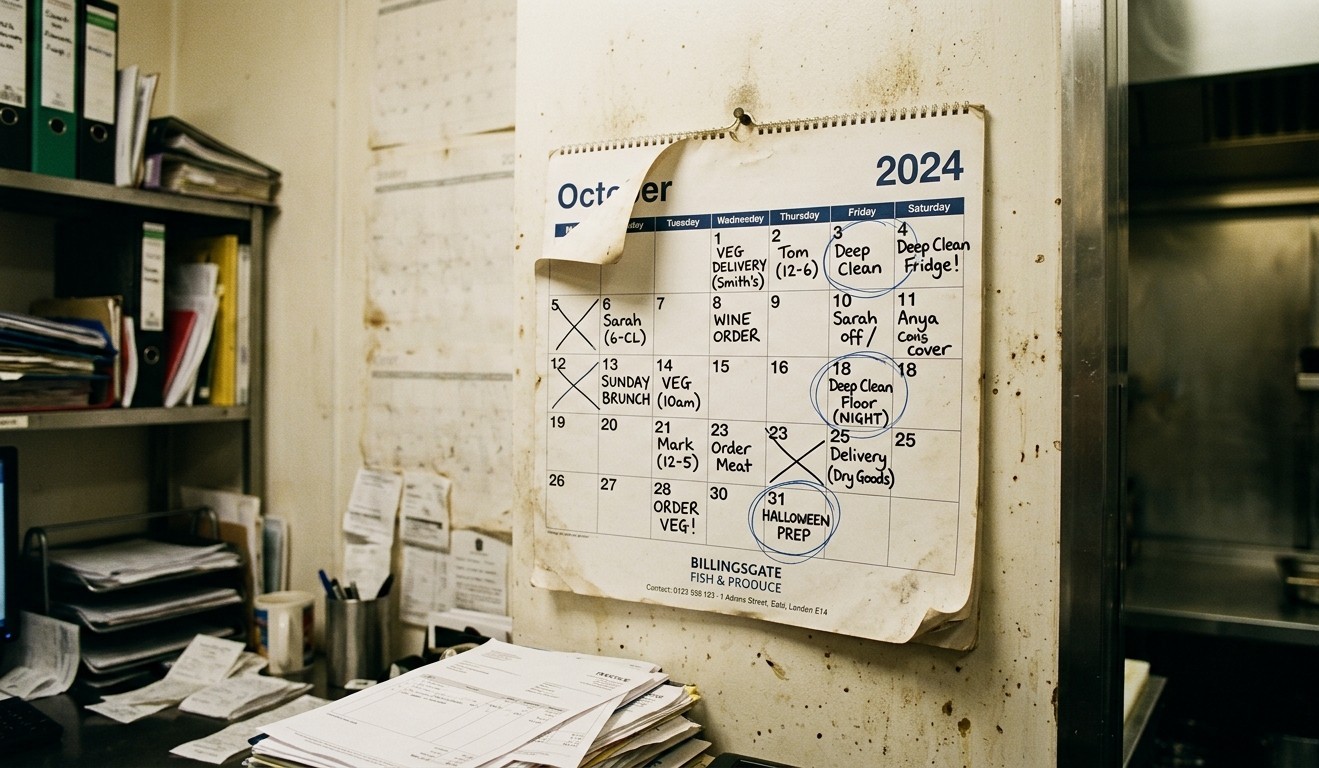


How Often Does Your Restaurant Actually Need A Professional Deep Clean? The Honest Answer Might Surprise You
Most restaurant owners operate on instinct when it comes to deep cleaning. They schedule a professional clean when something starts to smell, when an inspection is looming, or when a…
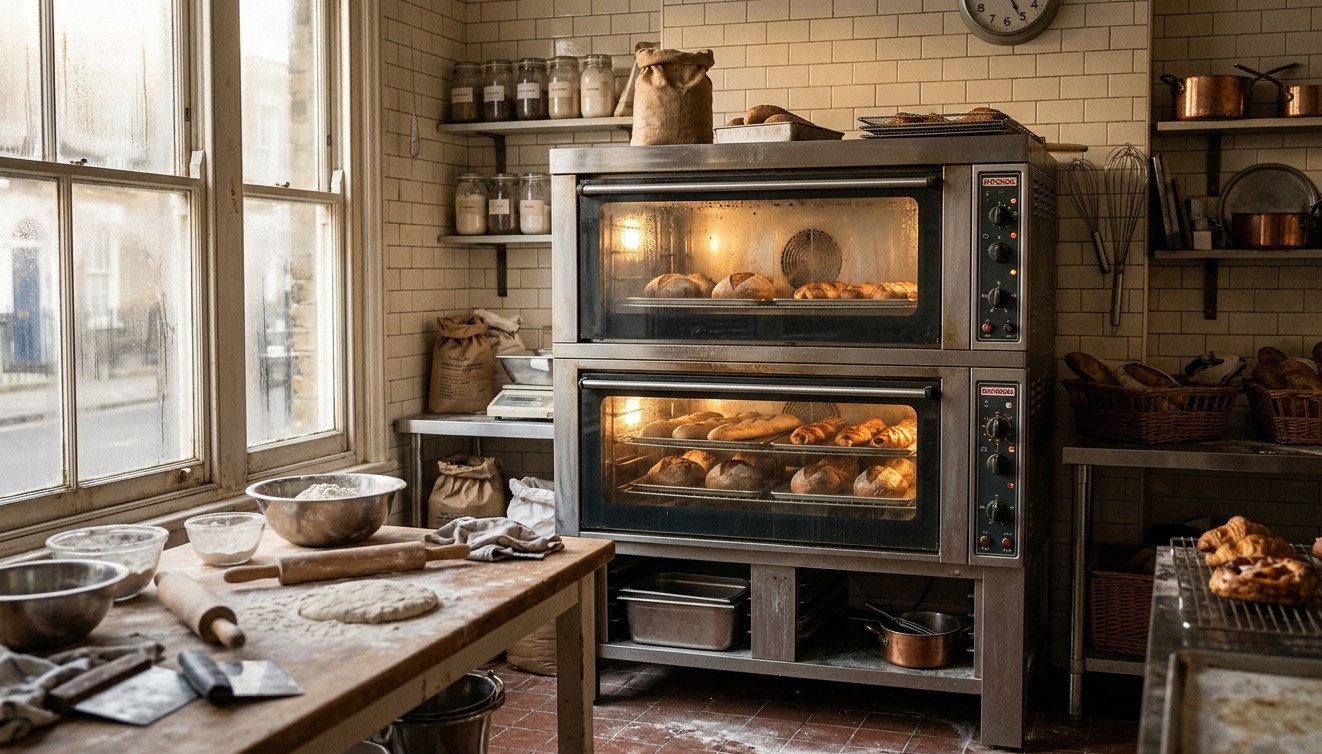
How To Deep Clean A Commercial Oven Without Wrecking It – What Every Busy Restaurant Kitchen Needs To Know
I have a theory about commercial ovens. I think they’re the kitchen equivalent of that one junk drawer everyone has at home – the one where things go in and…
What Does A Food Hygiene Inspector Actually Look For? A Cleaner’s Inside Guide To Getting Five Stars
There’s a particular type of text message that sends a restaurant owner into a cold sweat. Not the one from a supplier saying the delivery’s running late, and not the…
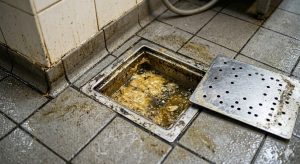
The Most Neglected Spot In Your Restaurant Kitchen – And Why A Blocked Grease Trap Could Cost You Thousands
I once walked into a restaurant in Bermondsey that smelt wrong before I even reached the kitchen. Not wrong like “something’s burnt.” Wrong like something had quietly been decomposing for…
Your Restaurant’s Extraction Canopy Is A Fire Hazard Waiting To Happen – Here’s What TR19 Compliance Actually Means
There’s a particular kind of dread that settles over a restaurant owner when they realise something has been quietly going wrong for months. I’ve seen it on faces from Hackney…
Running A Small Family Restaurant? The Top Five Cleaning Challenges That Might Spoil Your Success
It’s Not Just About The Food Running a small family restaurant in London feels a bit like hosting Christmas dinner every day – except your guests are strangers, they’re very…
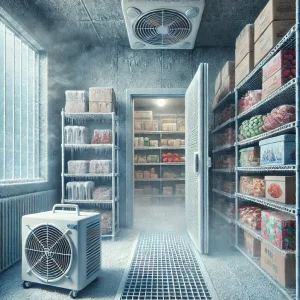
How To Clean Sub-Zero Restaurant Storage Rooms and Freezers
Maintaining pristine conditions in sub-zero restaurant storage rooms and freezers is critical for food safety, regulatory compliance, and operational efficiency. However, these areas present unique challenges due to extreme temperatures,…
How To Remove The Dangerous Soot and Grease From Your Restaurant Fryers
Running a restaurant means dealing with grease, soot, and stubborn grime daily. Nowhere is this more of a problem than with your fryers. If you ignore the grease and burnt…
How To Implement The Three-Step Cleaning System In Your Restaurant Kitchen
Keeping a restaurant kitchen spotless is not just about appearances. It is a legal requirement and a matter of public health. The three-step cleaning system—clean, rinse, disinfect—is the industry standard…